How to Set Up Dual Monitors: The Complete Step-by-Step Guide
How to connect, configure, and position dual monitors for a productive desk setup. Covers Windows, macOS, monitor arms, and cable management.
A dual monitor setup doubles your available screen space. Done correctly, it eliminates most window switching and makes multitasking significantly faster. This guide walks through every step: hardware, cables, software settings, and positioning.
We may earn a commission if you buy through our links.
What You’ll Need
Before starting, gather the following:
- Two monitors (matching or compatible sizes)
- Two video cables: DisplayPort or HDMI for each monitor
- A GPU with two video outputs: any modern discrete GPU qualifies. Check port types on yours before buying cables.
- A dual monitor arm or two individual monitor stands: arms are optional but recommended
- Velcro cable ties for managing the additional cables a second monitor introduces
- A surge protector with enough outlets for both monitors plus existing devices
Check your GPU’s available ports before buying cables. A GPU with one DisplayPort and one HDMI supports two monitors with those native cable types. A USB-C or Thunderbolt port can also drive a monitor with the right cable or adapter.
Step 1: Check GPU Outputs
Locate your GPU in the back of your desktop PC or your laptop’s ports. Count the video outputs and note their types.
Desktop GPU ports are on the card itself, not on the motherboard. Do not use motherboard video outputs when a discrete GPU is installed. The discrete GPU handles all display output and the motherboard outputs may be disabled.
Laptop video outputs vary by model. Most modern laptops have one or two USB-C/Thunderbolt ports that support video output plus an HDMI port. That gives two outputs. Some also have a dedicated DisplayPort.
If your GPU only has two ports and both are occupied by your current monitor setup, a DisplayPort MST hub splits one output into two. This works for 1080p and 1440p monitors at 60Hz. At higher refresh rates, the hub becomes a bottleneck.
Step 2: Connect the Cables
With both monitors positioned on the desk (or arm-mounted), connect each monitor to the GPU:
- Connect the first monitor using DisplayPort if available. DisplayPort handles the highest refresh rates and image quality.
- Connect the second monitor using the second available port. Use DisplayPort if you have two, or HDMI for the second if only one DisplayPort is available.
- Connect both monitors’ power cables to your surge protector.
- Power on both monitors.
Your operating system should detect both displays automatically within a few seconds of connection.
Step 3: Configure Display Settings on Windows
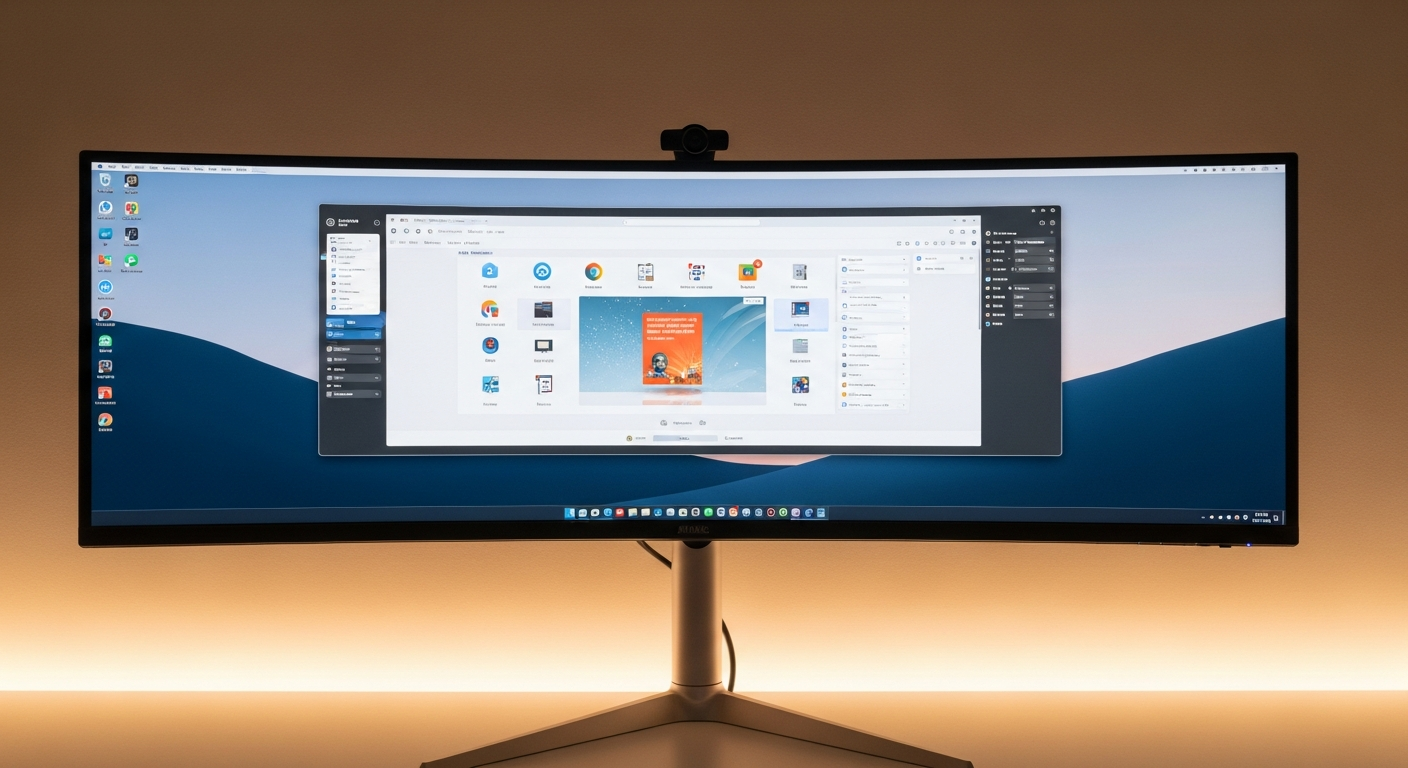
Right-click the desktop and select Display settings. Both monitors appear as rectangles labeled 1 and 2 (or with their model names in Windows 11).
Key settings to configure:
Arrangement: Drag the monitor rectangles to match your physical layout. If monitor 2 is on your right, drag its rectangle to the right of monitor 1. This determines where your cursor crosses from one screen to the other.
Resolution: Set each monitor to its native resolution. A 1440p monitor should run at 2560x1440. Running below native makes text and images look soft.
Refresh rate: Set each monitor to its maximum supported rate. Click the monitor rectangle, scroll to Advanced display, and select the refresh rate. A 144Hz monitor should be set to 144Hz, not the default 60Hz.
Primary display: Set your main monitor as the primary display. This is where the taskbar, notification area, and most apps open by default. Right-click the monitor rectangle and select “Make this my main display.”
Step 4: Configure Display Settings on macOS
Open System Settings, then Displays. Both monitors appear as rectangles.
Drag the white menu bar indicator to the monitor you want as primary. This sets which screen shows the menu bar and Dock by default.
Drag the monitor rectangles to match your physical arrangement. macOS uses this for cursor movement between screens.
For resolution, select each display and choose its native resolution. On Retina or high-DPI monitors, use “Default for display” to let macOS apply appropriate scaling.
Step 5: Position the Monitors
Monitor positioning significantly affects neck strain and workflow comfort.
Height: The top of each monitor should be at or slightly below eye level when you are seated upright. Most people sit too low relative to their monitors, causing them to tilt their chin up slightly over time.
Distance: Sit far enough from both monitors that you can see each screen without leaning or squinting. The standard recommendation is arm’s length, but the right distance depends on your screen size and resolution.
Angle: Angle both monitors inward at 10-15 degrees. This creates a slight arc. Each screen faces your seated position more directly. Your head rotation when switching between screens decreases.
Bezel alignment: Align the inner bezels of both monitors so they meet at the same point on both screens. Misaligned inner bezels create a visual discontinuity that makes window placement feel off.
Step 6: Mount on a Dual Arm (Optional but Recommended)
A dual monitor arm clamps to the desk and positions both monitors on independent arms. Benefits:
- Both screens adjust to identical height without shimming or stacking objects
- Desk surface below the monitors is completely clear
- Angles and tilt adjust precisely per arm
- Cable routing through the arms reduces visible cable clutter
The Ergotron LX Dual is the standard recommendation. It handles most 27-inch monitors and holds position reliably over years of use. The VIVO dual stand is a less expensive alternative that works well for monitors under 17 lbs each.
Step 7: Manage the Extra Cables
A second monitor adds at minimum two cables: one power, one video. With a USB hub or built-in USB ports on the monitor, that number increases.
Bundle the second monitor’s cables with velcro ties. Route them along the same path as your first monitor’s cables. If you are using an under-desk tray, add the second monitor’s power cable to the existing bundle going into the tray.
Label cables at both ends if the two monitors use the same cable type. Distinguishing “monitor 1 DisplayPort” from “monitor 2 DisplayPort” at the back of a dark desk shelf saves significant frustration later.
A clean dual monitor setup takes about 30-45 minutes to install and configure from scratch. The productivity improvement for most users is immediate.
Frequently Asked Questions
- What cables do I need for dual monitors?
- DisplayPort and HDMI are the two standard connections. DisplayPort supports higher refresh rates (144Hz and above) at 1440p and 4K. HDMI 2.0 handles 4K at 60Hz and 1440p at 144Hz. Most monitors include at least one of each. Use DisplayPort when available for the best image quality and refresh rate support.
- Does dual monitor affect performance?
- Running a second monitor uses some GPU memory and processing power, but the impact is minimal for productivity tasks. For gaming, having a second monitor with a browser or Discord open has negligible effect on performance in most games.
- Should monitors face straight or be angled?
- Angle both monitors inward at 10-15 degrees so they form a slight arc around your seating position. This reduces head rotation when switching between screens and makes the setup more comfortable for extended use.
- Do I need a monitor arm for dual monitors?
- A monitor arm isn't required but it dramatically improves the setup. Arms position both monitors at the same height and allow precise angle adjustment. They also free up desk surface. A dual monitor arm like the Ergotron LX Dual or VIVO dual stand runs $70-200 and is worth the cost.